Co-Design for Inclusion in Software Development Design
The Inclusion4EU Charter
How to use it
What is co-design
Co-design is an approach that enables a wide range of people to make creative contributions in the formulation of solutions to a problem. In this online training guide, we present accessible tools to support the co-design process.
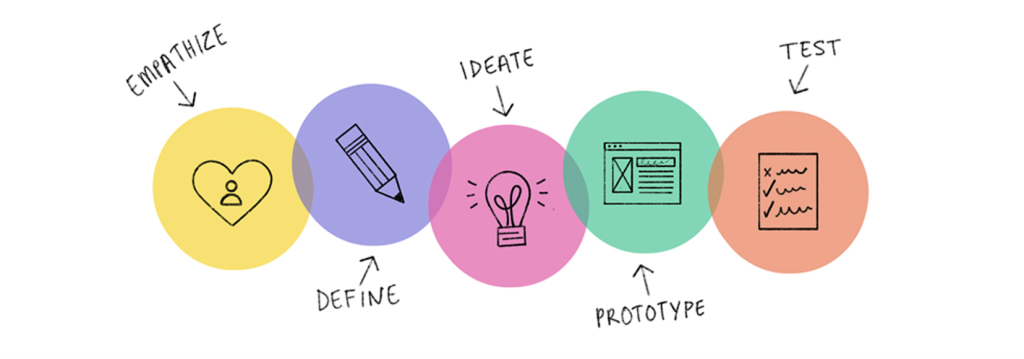
The co-design process is structured around five main phases:
Design Thinking is a methodology that can include user input, while co-design is a mindset and process where users are co-creators from start to finish.
Design Thinking is like a chef cooking your favourite meal after asking about your tastes. Co-design is like you and the chef cooking the meal together in the kitchen.
Design thinking phases
Co-design phases
How to use Design Thinking tools for co-design?
Design Thinking
Co-design
Empathise Understand the needs, experiences, and motivations of users.
↔
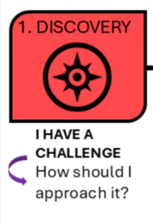
Discovery Engage with stakeholders to explore and identify the core issues collaboratively.
Define Clearly articulate the problem based on insights gathered during the empathize phase.
↔
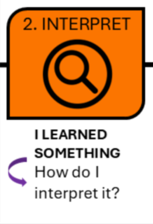
Interpret Co-create a shared understanding of the problem with all stakeholders involved.
Ideate Brainstorm a range of creative solutions to the defined problem.
↔
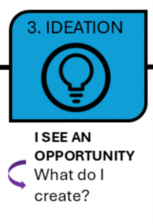
Ideation Collaboratively generate and refine ideas, ensuring they align with user needs and contexts.
Prototype Create scaled-down versions of the product or feature to test ideas.
↔
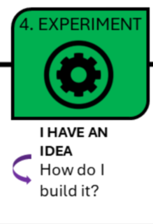
Experiment Implement solutions on a small scale, allowing for real-world testing and feedback.
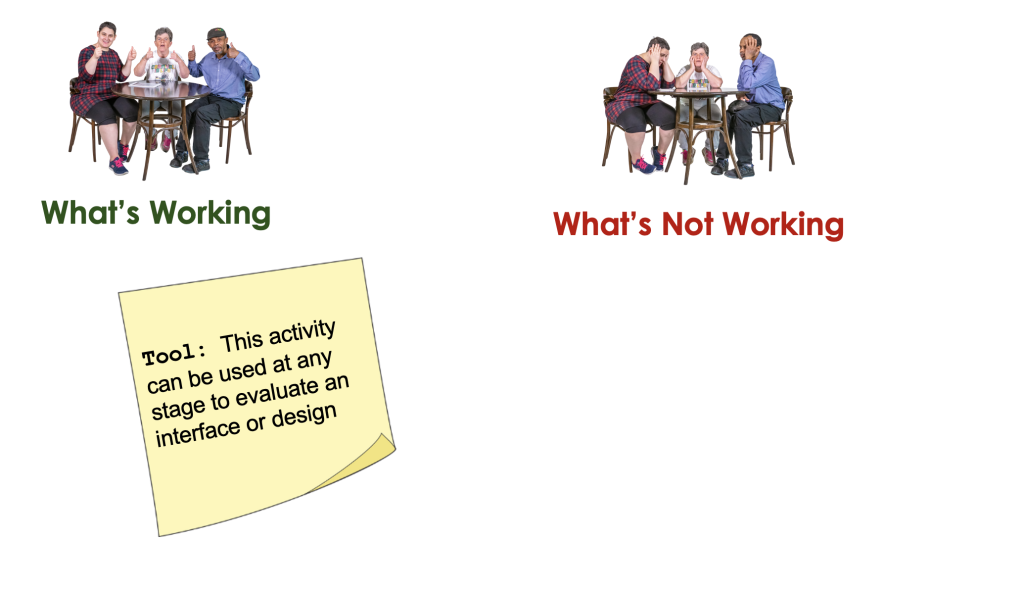
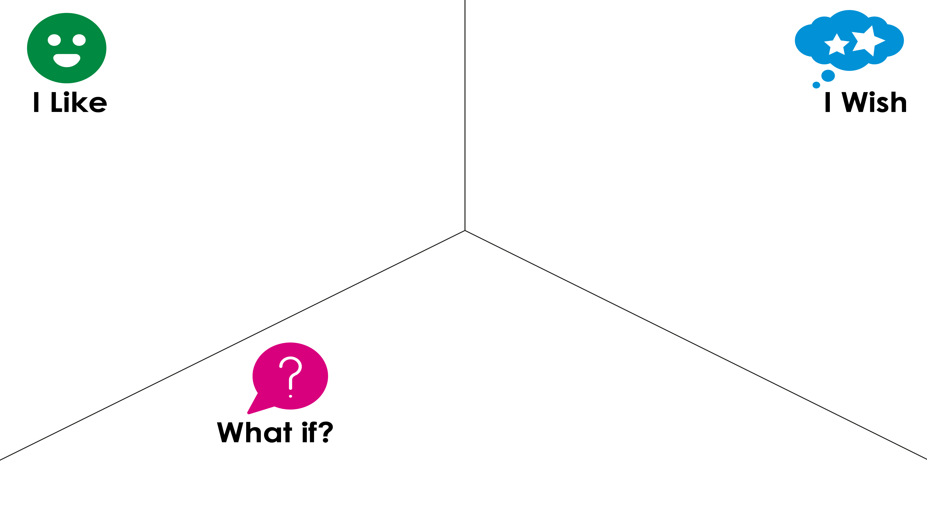
Test Evaluate prototypes with users to gather feedback and make necessary refinements.
↔
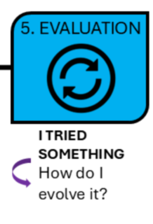
Evaluation Roll out the final solution, ensuring continuous monitoring and adaptation based on user feedback.
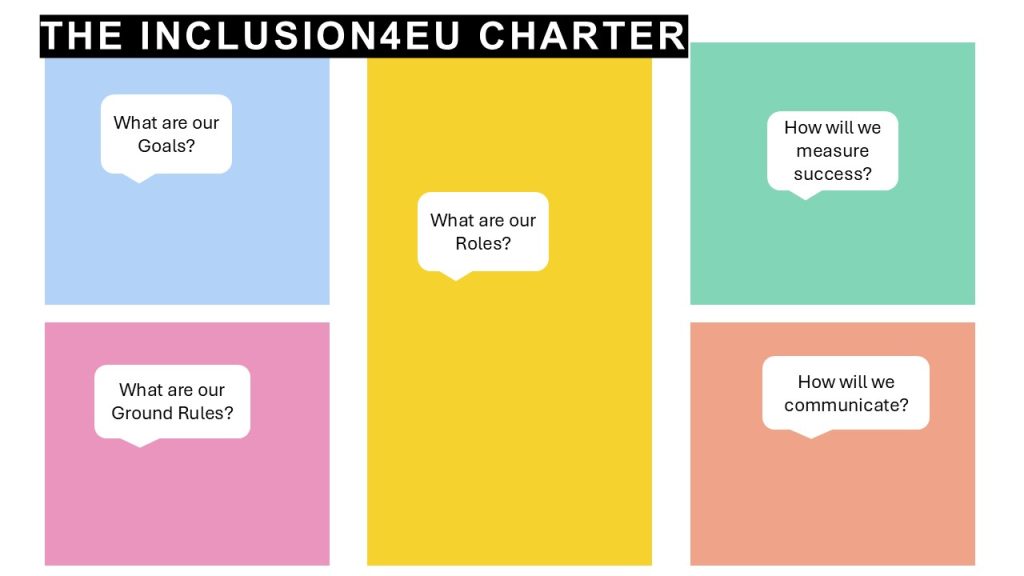
The Inclusion4EU Charter
We asked ourselves: How can we create a process that allows for a simple integration of co-design?
To explore this, we consulted co-design practitioners directly trough a number of iterative co-design sessions.
The response was refreshingly simple: “Use the tools!”
We realized the simplest way to allow for integration of co-design was to create a space for co-design teams to work collaboratively. We named this the Inclusion4EU Charter.
The charter is available to download and will serve as the main design artefact for our practical co-design sessions. You will collate your ideas and designs in this document
The Inclusion4EU Charter is a straightforward PowerPoint resource that outlines five foundational steps for initiating collaboration, along with the tools needed to support each phase of the co-design process.
At this stage, the team defines the purpose of the collaboration. This includes setting a clear vision and identifying specific objectives to ensure everyone is aligned on what they are working toward.
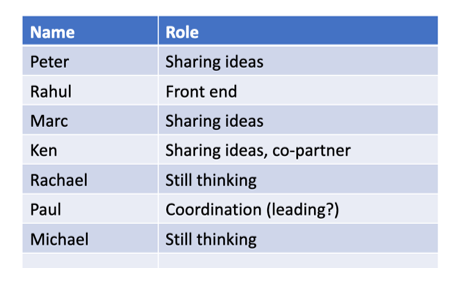
What are our Roles?
Who is on the team, and what will their role be? The team outlines who is involved and what responsibilities each member holds. Defining roles early on helps to establish clarity, support accountability, and ensure a well-coordinated process. Roles might change and that’s ok!
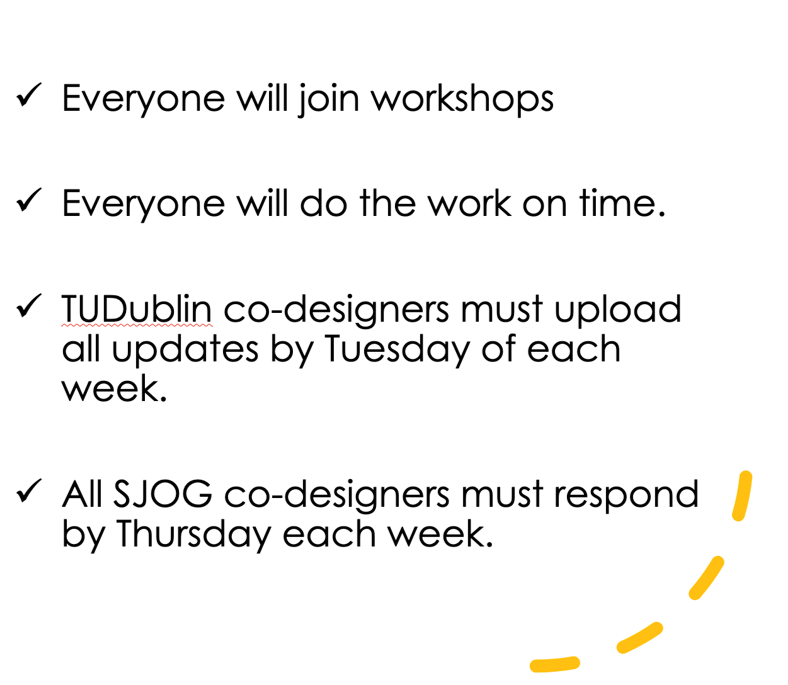
What are our Ground Rules?
Ground rules are agreed upon to guide how the team will work together. These may include expectations for communication, participation, decision-making, and respectful engagement, helping to create a supportive and inclusive working environment.
How will we Communicate?
This step involves setting up communication protocols, including which channels will be used, how often updates will be shared, and how information will flow among team members. Effective communication supports collaboration and transparency throughout the process.
How will we measure Success?
The team identifies how progress and impact will be assessed. This involves agreeing on what success looks like and selecting relevant indicators – both qualitative and quantitative – to evaluate the outcomes of the work.
Co-design Tools
You can click on each of the pashes of co-design to learn more about what it entails and the tools we are going to use in the co-design session.
About the tools
The tools presented in this guide were originally created by the Digital Accessibility Team in Saint John of God Liffey services in collaboration with co-designers by adapting Design Thinking Tools (Stanford d school and IDEO). The tools have been adapted and tested over the past eight years in collaboration with TU Dublin (IRC AccessDesign Project) and internationally through EU projects (such as the Right to Connect Erasmus Plus Project). These tools were specifically adapted for use by people with disabilities. The tools have been further tested and adapted as part of the Inclusion4EU project specifically exploring how development teams engage with the tools.
EmpathyEmpathy is our ability to see the world through other people's eyes.
All templates are included in the Inclusion4EU charter and can be downloaded at the top of the page.
Ideate
Brainstorming Tips
Defer judgement
Encourage wild ideas
Build on others’ ideas
Once conversation at a time
Be visual and expressive
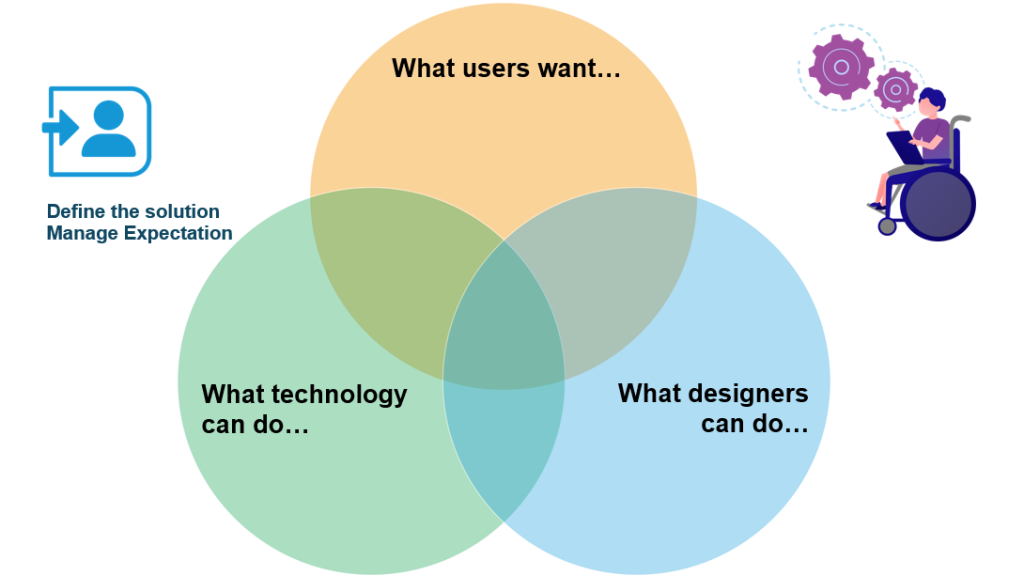
Define the solution with the "Manage Expectations" tool
All templates are included in the Inclusion4EU charter and can be downloaded at the top of the page.
Experiment
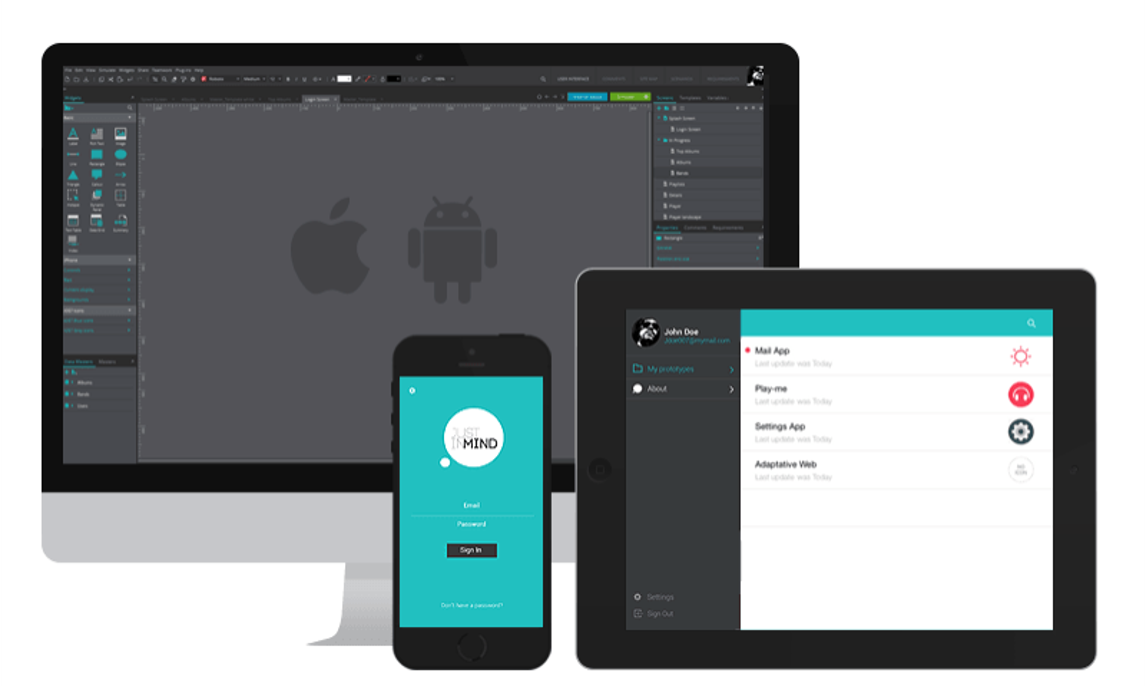
Prototype
Prototyping is a key part of the design process because it brings ideas to life early, making them easier to test, share, and improve. In co-design, prototypes become shared tools for thinking and collaboration – helping designers and users explore possibilities together and shape solutions in real time.
You can decide to prototype sketching and/or creating digital mock-ups.
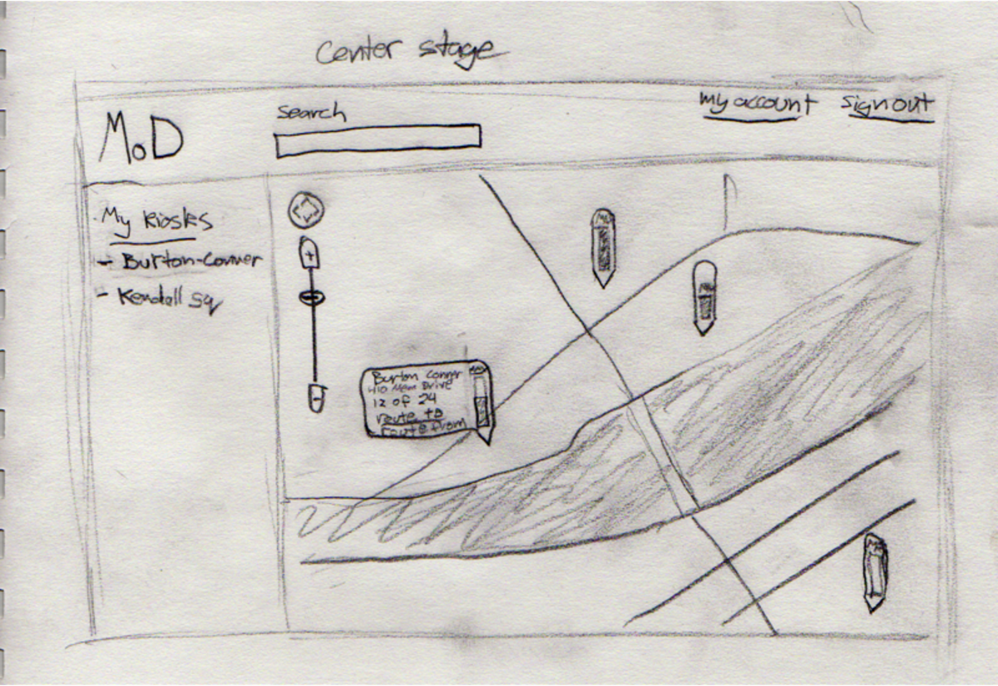
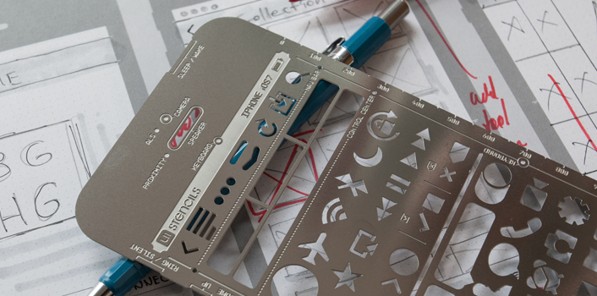
Sketching
Low fidelity
Sketching on paper is considered a low-fidelity prototyping method because it offers a quick, simple, and non-interactive way to explore ideas without focusing on design details.
Digital Mock-Ups
High fidelity
Digital mock-ups are high-fidelity prototypes because they closely resemble the final product in terms of visuals, interactivity, and user experience, allowing for more accurate testing.
Why prototype?
Research shows that simple, rough drafts of a design can uncover problems just as well as detailed, polished versions (Virzi et al, 1996).
Users can be happier to give feedback on ways to change prototypes that are less finished.